
REVIEW · MOUNT RAINIER DAY TRIPS
Mount Rainier: Day Hike on the Mountain
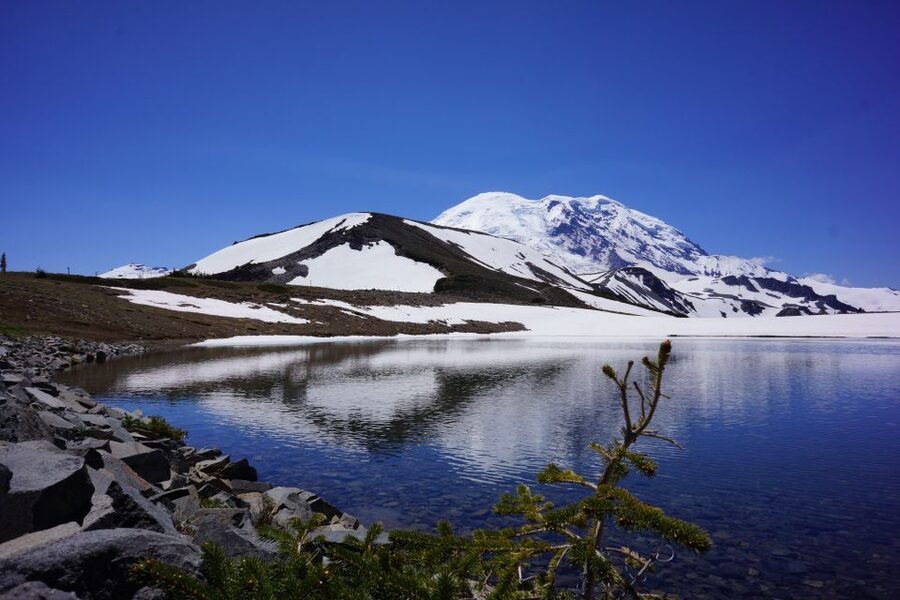
Goats, snowfields, and volcano views in one day. The Three Burroughs Trail out of the Sunrise area turns Mount Rainier into the star, while still treating you to big-picture views of other Washington volcanoes.
I love that the route gives you more than a quick viewpoint fix—you actually hike far enough to feel the mountain. I also like the wildlife-and-views balance, including a real shot at spotting resident mountain goats in the meadows.
One possible drawback: this is an uphill day at about 6,500 feet, with uneven terrain and possible snow, so it’s not a stroll and it’s not for everyone.
In This Review
- Key things I’d focus on before you book
- Why the Three Burroughs Trail is a smart Mount Rainier day plan
- Seattle to Sunrise: the drive that sets your tone
- First climb: the ridge views and why the start matters
- Frozen Lake and meadow time: where the goats become a real possibility
- Across snowfields to Second Burroughs: non-technical effort, real conditions
- Lunch stop with peak views: how to use the pause well
- Choosing your turnaround: a trail that adapts to your legs
- What the small group of 5 really changes
- Gear and clothing: what keeps you comfortable on an elevated day
- Price and value: what $269 buys you in real terms
- Who this hike suits best (and who should skip it)
- Should you book the Mount Rainier Three Burroughs day hike?
- FAQ
- Where does the hike start?
- How long is the whole experience?
- How far do I hike?
- Is the trail technical or does it require climbing skills?
- Is there a chance to see mountain goats?
- What’s included in the price?
- Do I get pickup from Seattle?
- What should I bring and wear?
- Are pets or alcohol allowed?
Key things I’d focus on before you book
- Best “big view” payoff from the Three Burroughs ridges, especially on clear days
- Mountain goat chances in meadow zones above and below the trail
- A true day hike (not mostly car stops), with flexible turnaround options at 4, 6, or 9 miles
- Two Washington volcano views thrown into the hike: Glacier Peak and Mount Baker
- Snowfields without technical climbing, but plan for cold and traction needs
- Small group size (max 5) so pace, comfort breaks, and questions don’t get rushed
Why the Three Burroughs Trail is a smart Mount Rainier day plan
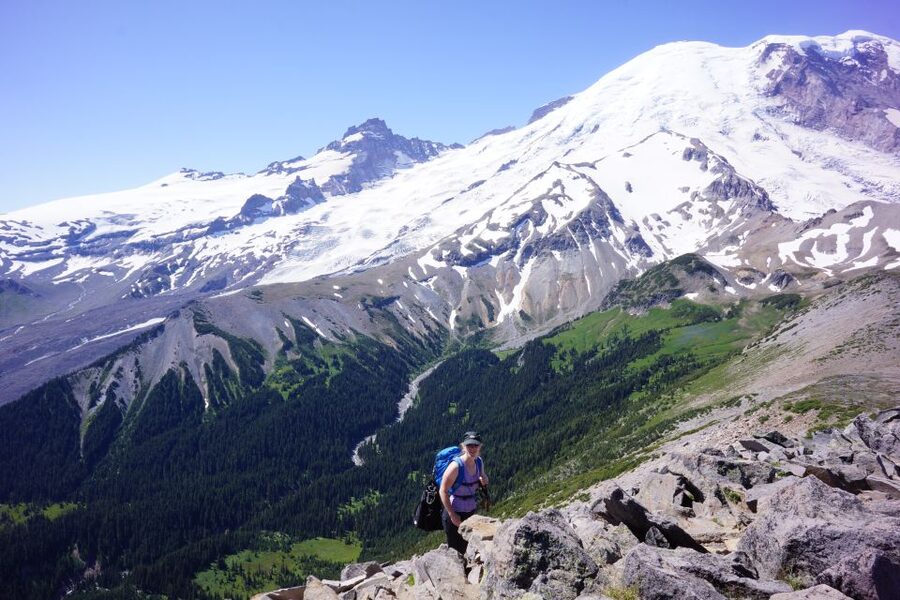
This day hike is built for people who want Mount Rainier in a way that feels earned. Instead of spending most of the time stopped at viewpoints, you’re moving along a high-altitude trail that climbs quickly, then continues toward the Second Burroughs. You get that “ridge-to-ridge” feeling that makes the views land harder.
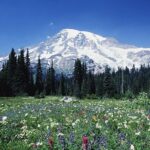
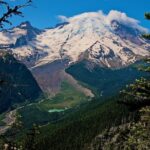
The trail’s elevation is the point. It starts from the Sunrise Visitor Center area and rises to roughly 6,500 feet, where the air is thinner and the scenery opens up. That’s why you can also catch views of Glacier Peak and Mount Baker on a clear day. In other words: this isn’t just Rainier—it’s a whole volcanic map laid across the horizon.
The mountain is the whole day out, more ways to reach Rainier
Seattle to Sunrise: the drive that sets your tone
Your day runs on a schedule that’s mostly about getting you to altitude early. Pickup is generally between 6 AM and 8 AM from Seattle-area accommodations and from the Mount Rainier North/Sunrise side area. Expect around a two-hour scenic drive to reach the trail start.
Here’s why this matters: at Mount Rainier, conditions can change fast. Morning light can make the ridges and distant peaks more readable, and starting early helps you avoid late-day fatigue. You also get a smoother rhythm when you’re not trying to coordinate your own transport at 6 in the morning with cold gear and limited daylight.
First climb: the ridge views and why the start matters
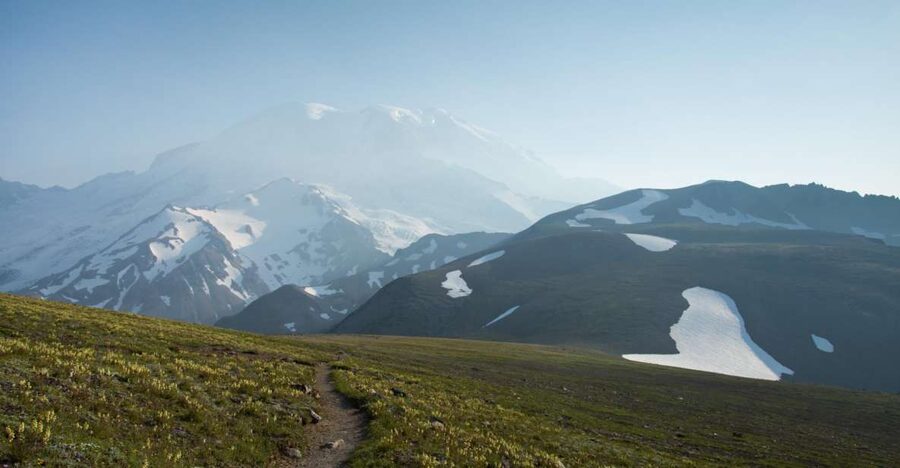
Once you’re at the Sunrise start, the trail climbs quickly to a ridge. This is the moment the hike starts paying you back. On a clear day, you can see two other Washington volcanoes—Glacier Peak and Mount Baker—as you continue along the route.
This early section is where the hike shifts from “trailhead effort” to “working up a sweat.” You’re not doing anything technical, but you are gaining elevation. The uneven ground and altitude mean you’ll want to pace yourself rather than lock into the kind of speed you’d use on a flat trail.
If you’re the type who likes to photograph while you hike, you’ll likely appreciate how this section gives you early, high-reward sightlines. Also, small-group size means you’re not fighting for space on the ridge.
Frozen Lake and meadow time: where the goats become a real possibility
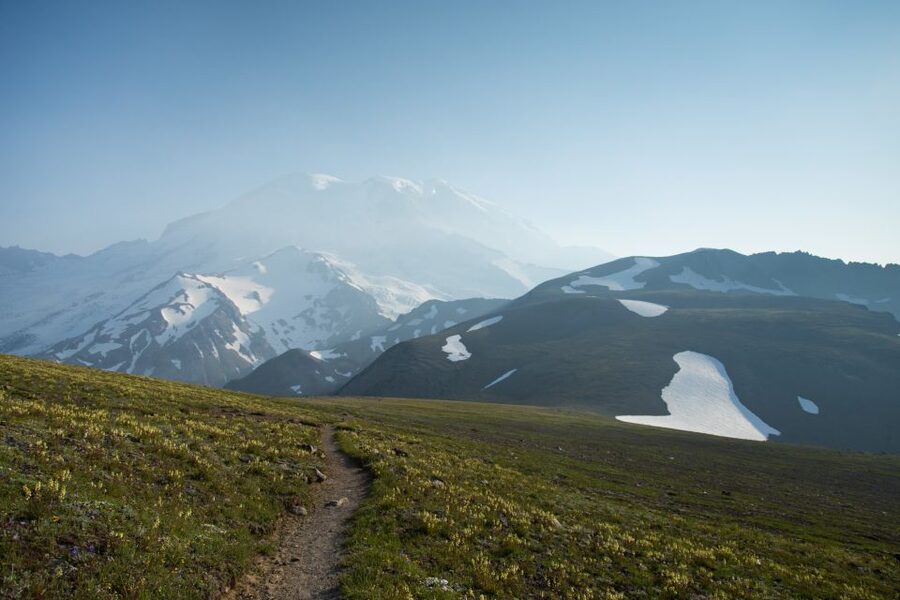
After the first ridge, the trail goes past Frozen Lake. This is also where the day starts feeling more “mountain” and less “just walking uphill.” You’re in a zone where you can look down and across meadow areas—perfect for spotting wildlife if you keep your eyes up and your stops intentional.
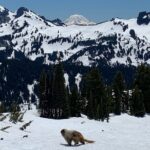
The highlight here is the chance to see resident mountain goats grazing in mountain meadows both above and below the trail. You don’t have to do anything special to make this happen besides stay alert and be patient. Goats tend to show up when the slopes and meadow edges are accessible and calm, and this route’s layout gives you multiple angles.
One practical note: meadows near a high trail can still be uneven, and snow coverage can happen depending on the season. If the ground is slick, slow down. Your goal is steady traction, not speed.
More trails around the Sound and the peaks
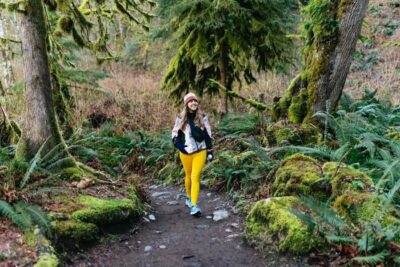
Across snowfields to Second Burroughs: non-technical effort, real conditions
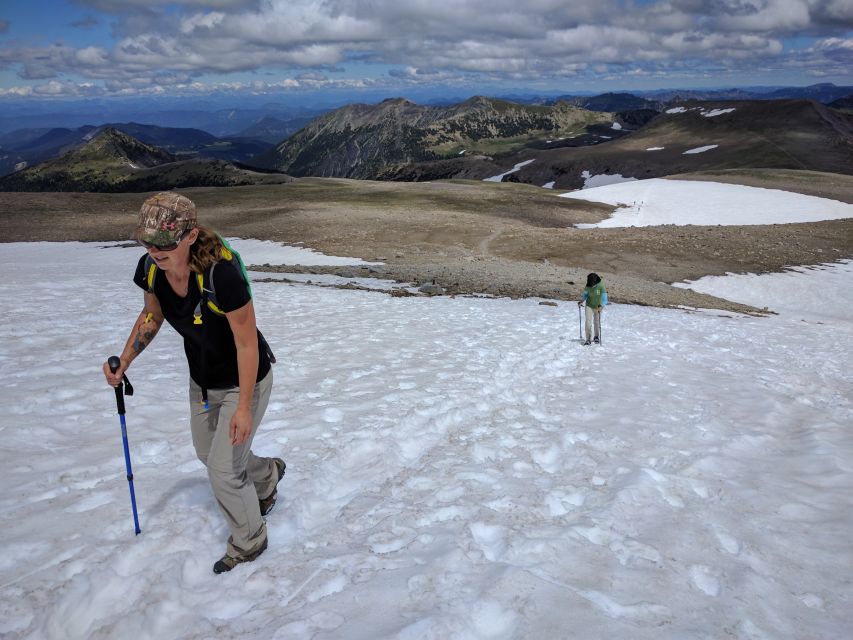
As you continue, you’ll head up across two snowfields to reach Second Burroughs. The good news is that the tour is described as not technical—you don’t need special climbing skills. You do need to respect the conditions.
This is the part of the day where people who underestimate cold and traction can feel it. Snowfields can mean firmer ground underfoot, patches of ice, and a colder wind at higher elevation. Even if the route isn’t technical, the hike still demands careful footing.
At Second Burroughs, you get the pay-off: Mount Rainier appears in front of you in full glory. That framing matters. Approaching from this direction gives you a classic “mountain standing there” moment rather than a side-glance at distance. It’s the kind of view that makes you stop needing to rush.
Lunch stop with peak views: how to use the pause well
The tour includes a lunch break—about 45 minutes—with an intentional setup for views. You’re basically using the middle-to-late portion of the hike as your chance to sit, refuel, and soak in the mountain.
This matters for two reasons. First, it helps you keep your energy stable for the return leg. Second, it lets you actually enjoy what you climbed for instead of eating while half-walking.
If you’re the kind of person who likes to linger, you’ll probably appreciate that this itinerary builds in time for a real lunch pause rather than pushing you through like a checklist.
Choosing your turnaround: a trail that adapts to your legs
This isn’t an all-or-nothing route. You have a built-in way to match the hike to your fitness: you can turn back at 4, 6, or 9 miles depending on how you feel. That flexibility is especially valuable on high-elevation days, where altitude can affect people differently even when their baseline fitness is solid.
A simple strategy helps:
- Start slower than you think you need.
- Take short pauses instead of one long stop.
- Use the early miles to judge how your breathing and legs respond.
You still get meaningful views even if you shorten the hike. The structure is designed so you’re not forced to push through discomfort to earn the experience.
What the small group of 5 really changes
Small group size—limited to 5 participants—isn’t just a comfort perk. It changes the whole feel of the hike. Guides can keep an eye on pace, adjust breaks to how people are doing, and provide gear support without turning the day into a stampede.
You also get better chances to ask questions. One of the biggest themes from guide feedback is excitement about flora, fauna, and the landscapes around the route. For example, Josh has been noted for taking photos throughout the hike and sharing them afterward. Even if your guide doesn’t do that exact thing, a group this size typically means you get more personal attention than you would on a bus-and-browse schedule.
A related detail worth knowing: the day can be flexible for wildlife watching. If an elk herd appears along the way, the guide may make a quick roadside stop when timing allows. That’s the kind of small change that turns a good hike into a memorable one.
Gear and clothing: what keeps you comfortable on an elevated day
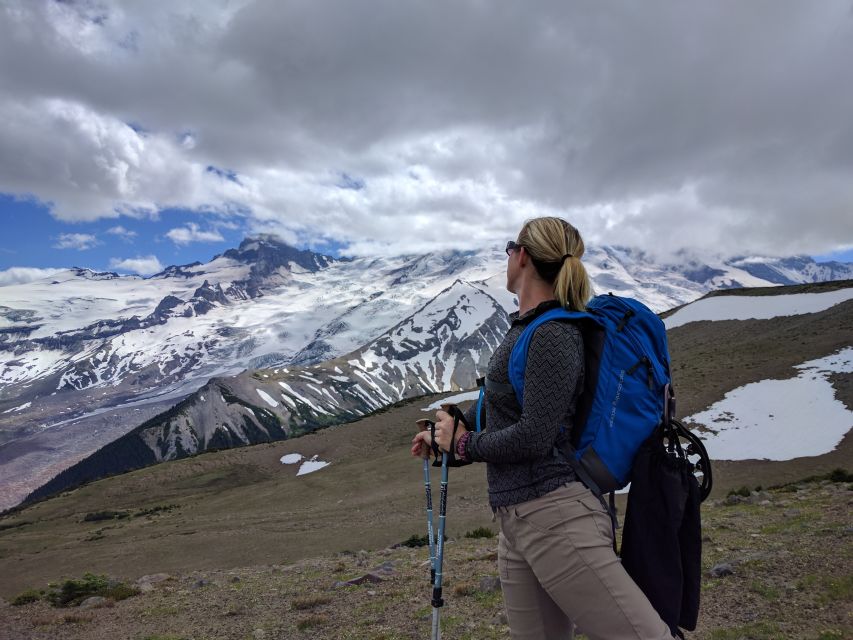
The tour provides hiking equipment like trekking poles and backpacks, which is a big help if you’re traveling and don’t want to pack gear. You’ll still want to dress for cold and variability.
Bring:
- Comfortable, close-toed shoes
- Warm, layered clothing, including a hat and gloves
- Sunglasses
- A base layer, plus fleece or a down coat, and a windbreaker or raincoat (layering matters)
The trail is uneven and may be covered in snow, and you’ll be at altitude. So the best “packing” mindset is simple: treat this like a cold-weather hike even if Seattle feels mild that day.
Not allowed items add clarity: no pets, no smoking, no alcohol or drugs, and no open-toed shoes.
Price and value: what $269 buys you in real terms
At $269 per person, this isn’t a budget add-on. The value comes from what’s included and what that buys you on a Mount Rainier day.
You’re paying for:
- Transportation from your Seattle-area accommodation (and Sunrise/North-side areas around the park)
- Park entrance fees
- Guide support plus hiking equipment (trekking poles and backpacks)
- Lunch and snacks
- A small group experience with attention to pacing
If you tried to replicate this yourself, you’d quickly run into the cost and hassle of transport, parking, coordinating entry, and figuring out timing and gear. The fee also covers the guide’s work: reading trail conditions, managing turnaround flexibility, and keeping everyone safe on uneven, high-elevation terrain.
So the question isn’t just Is it expensive? It’s: do you want a guided structure that handles logistics while you focus on the hike and views? If yes, the price starts to make sense.
Who this hike suits best (and who should skip it)
This is a hike with altitude, uneven footing, and potential snow. It’s not framed as beginner mountain climbing, and it has clear limits.
It is not suitable for:
- Children under 12
- People with mobility impairments
- People with heart problems
If you’re in good hiking shape and you want a day that’s mostly about real trail time—around 4+ hours on a roughly 6+ mile hike—this is a strong fit. It’s also a good match if you want more than viewpoints by car. The route is designed so you can turn around when needed, not because you’re running out of time, but because your body sets the pace.
Should you book the Mount Rainier Three Burroughs day hike?
Book it if:
- You want the best view-building hike from Sunrise along the Three Burroughs route
- You care about seeing more than one volcano (Rainier plus Glacier Peak and Mount Baker on clear days)
- You like wildlife chances like mountain goat spotting in meadows
- You prefer a small group (max 5) with guide attention
Skip it if:
- You’re not comfortable on uneven, potentially snowy terrain at altitude
- You need a low-impact walk rather than a hike with elevation gain
- Your health conditions make higher altitude or strenuous effort risky
If you’re deciding between “quick views” and “actually hiking for the payoff,” this leans hard toward the second option—in the best way.
FAQ
Where does the hike start?
The trail starts from the Sunrise Visitor Center in Mount Rainier National Park.
How long is the whole experience?
It runs as a 1-day tour. Expect scenic driving time plus about two hours of hiking in the schedule, a lunch break, then additional hiking before returning.
How far do I hike?
The hike is described as 4+ hours and about a 6+ mile route for many people. You can also choose turnaround points at 4, 6, or 9 miles based on how you feel.
Is the trail technical or does it require climbing skills?
No. The route is not technical, and it doesn’t require special climbing skills, though the terrain is uneven and may be covered in snow.
Is there a chance to see mountain goats?
Yes. The hike route passes areas where you can look for resident mountain goats grazing in mountain meadows above and below the trail.
What’s included in the price?
You get transportation from your accommodation, park entrance fees, hiking equipment (trekking poles and backpacks), lunch and snacks, and an experienced guide.
Do I get pickup from Seattle?
Pickup is included from accommodations within the Seattle area and from areas around Mount Rainier on the North side/Sunrise side. Pickup is generally between 6 AM and 8 AM.
What should I bring and wear?
Bring comfortable close-toed shoes, warm layered clothing (including hat and gloves), and sunglasses. Expect uneven terrain and possible snow at altitude.
Are pets or alcohol allowed?
No. Pets aren’t allowed, and smoking, alcohol, and drugs are also not allowed.
Seattle-Area Trails to Walk
- Guided forest hike to Seattle waterfalls incl. Snoqualmie Falls
★ 5.0 · 589 reviews - Visit Snoqualmie and Hike to Twin Falls (Transportation included)
★ 5.0 · 330 reviews - From Seattle: Pacific Northwest Waterfalls & Hiking Tour
★ 4.6 · 131 reviews - Snoqualmie falls and Twin Falls Hike
★ 5.0 · 85 reviews - From Seattle: Visit Snoqualmie Falls and Hike to Twin Falls
★ 4.8 · 76 reviews - Hike the Gorgeous Trails in Washington
★ 5.0 · 75 reviews
Up to Mount Rainier
- Mt. Rainier National Park Highlights Tour
★ 5.0 · 3,156 reviews - Mt. Rainier Day Tour from Seattle
★ 5.0 · 1,828 reviews - Best of Mount Rainier National Park from Seattle: All-Inclusive Small-Group Tour
★ 5.0 · 805 reviews - Mt Rainier National Park Small Group Day Tour from Seattle 2CanGo
★ 5.0 · 641 reviews - Mt. Rainier highlights – old forest, falls and glaciers
★ 5.0 · 564 reviews - From Seattle: Mount Rainier National Park Guided Tour
★ 4.8 · 412 reviews
Just Added: Fresh Seattle Tour Reviews
- Viator Exclusive – Half Day Mountain Bike Tour from Seattle★ 5.0 · 3 reviews
- Break It and Make It: A Glass Fusing Session in Everett★ 4.5 · 3 reviews
- Bainbridge Island Discovery and Wine Tour★ 5.0 · 3 reviews
- Alki Lighthouse Sea Kayak Tour★ 5.0 · 3 reviews
- Sail Bainbridge Island & Seattle Waters – Classic Sailboat★ 5.0 · 3 reviews
- City Sightseeing Seattle: HOHO Bus Tour + Locks Cruise★ 4.3 · 3 reviews
Mount Rainier Day Trips, compared.
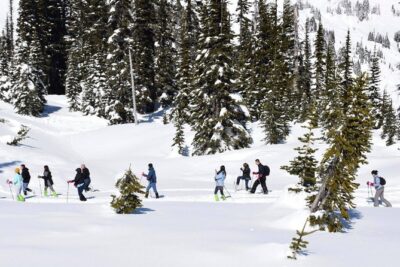 ★ 5.0Mt. Rainier National Park Highlights TourFrom $1503,156 reviews
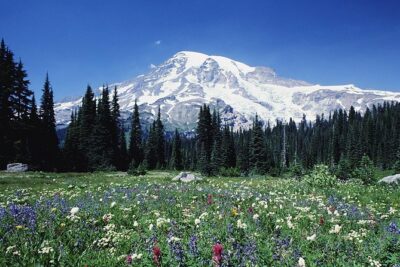 ★ 5.0Mt. Rainier Day Tour from SeattleFrom $1641,828 reviews
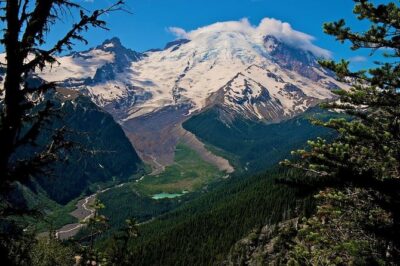 ★ 5.0Best of Mount Rainier National Park from Seattle: All-Inclusive Small-Group TourFrom $344805 reviews
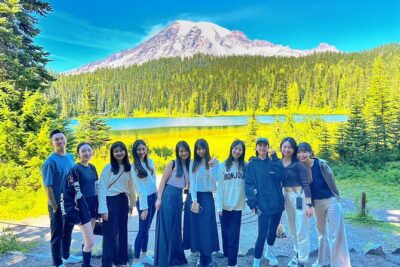 ★ 5.0Mt Rainier National Park Small Group Day Tour from Seattle 2CanGoFrom $148641 reviews
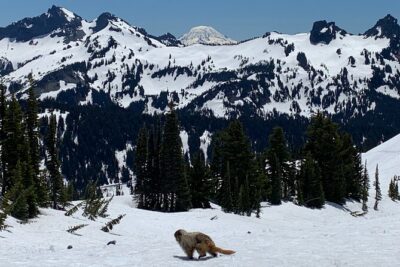 ★ 5.0Mt. Rainier highlights – old forest, falls and glaciersFrom $179564 reviews
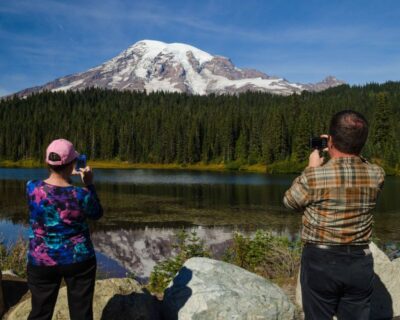 ★ 4.8From Seattle: Mount Rainier National Park Guided TourFrom $173412 reviews
 ★ 4.7From Seattle: Mount Rainier Guided Day TourFrom $148233 reviews
 ★ 4.0Mount Rainier National Park Day Tour from SeattleFrom $148199 reviews
Browse the lists this tour appears in