
REVIEW · CASCADE PEAKS & VOLCANO TRIPS
From Seattle: Mt Saint Helen Tour
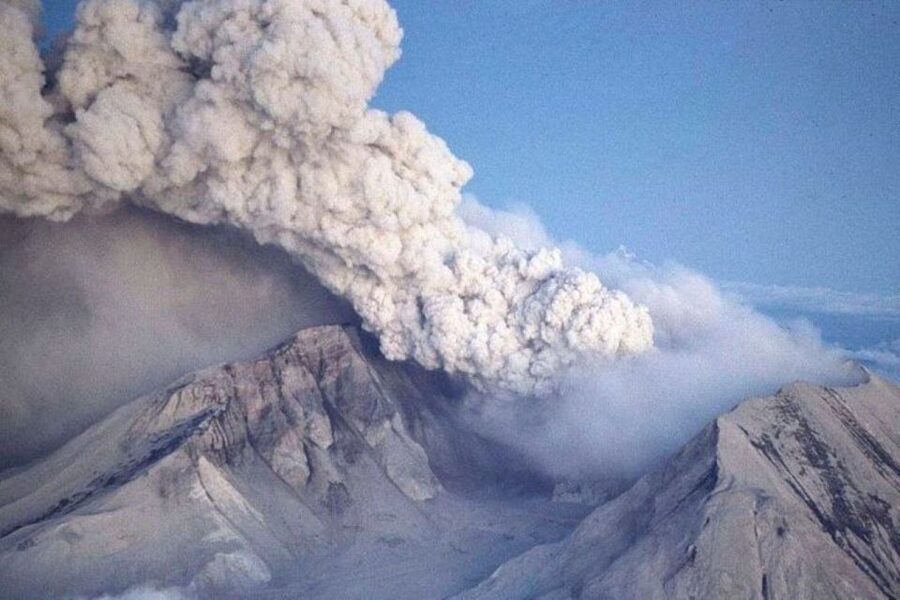
A volcano changes the rules of a day. I like how this tour turns Mt. St. Helens into a real, explainable place, starting with viewpoints and ending at the Johnston Ridge Observatory. You’re looking at the 1980 blast zone while a guide puts the geology into plain language, and that combo feels both awe-filled and useful.
I really like two things here: the guided storytelling at the visitor stops, and the fact it’s a true small-group outing capped at 14 people. You get time to read signs, ask questions, and not feel rushed through the big scenery. One consideration: it’s not suitable for wheelchair users, and you’ll need to be comfortable with getting on/off the vehicle and moving around viewpoints.
If you want Mt. St. Helens as more than a photo stop, this is the kind of day that pays off fast.
In This Review
- Key highlights you’ll actually care about
- Mt. St. Helens in 9 hours: the value of being guided
- Seattle pickup and the drive to the blast zone
- Stop 1: Mt. St. Helens views and guided orientation (about 4 hours)
- Coldwater Ridge Visitor Center: the “before you go higher” briefing (1 hour)
- Johnston Ridge Observatory: where you see the science in motion (about 4 hours)
- Coldwater Lake: reforestation and wildlife time (1 hour)
- What makes the guides matter (and how to get the best version)
- Group size and timing: how to plan your day so it feels easy
- Price: is $285 worth it for a Mt. St. Helens day trip?
- Should you book this Mt. St. Helens tour from Seattle?
- FAQ
- How long is the Mt. St. Helens tour from Seattle?
- How much does the tour cost?
- Where does the tour pick up and drop off?
- What stops are included during the day?
- What is included in the price?
- Is lunch included?
- Is the Johnston Ridge Observatory always open?
- Is this tour suitable for wheelchair users?
- Is free cancellation available?
- Can I reserve and pay later?
Key highlights you’ll actually care about
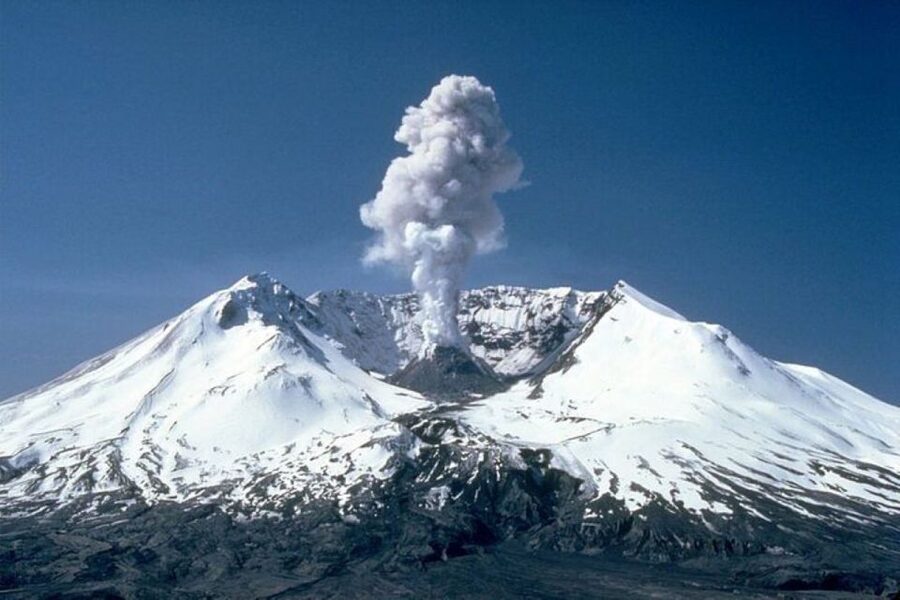
- Johnston Ridge Observatory sits about 8 km (5 mi) north of the summit and is open seasonally
- USGS monitoring context: the observatory building houses seismic and deformation equipment relaying data for analysis
- Coldwater Ridge Visitor Center gives you guided background before the longer ridge views
- Geology-focused timing: long on-site blocks at Mt. St. Helens, Johnston Ridge, and Coldwater Lake
- Small group (up to 14) means more questions and easier pacing than bigger buses
Mt. St. Helens in 9 hours: the value of being guided
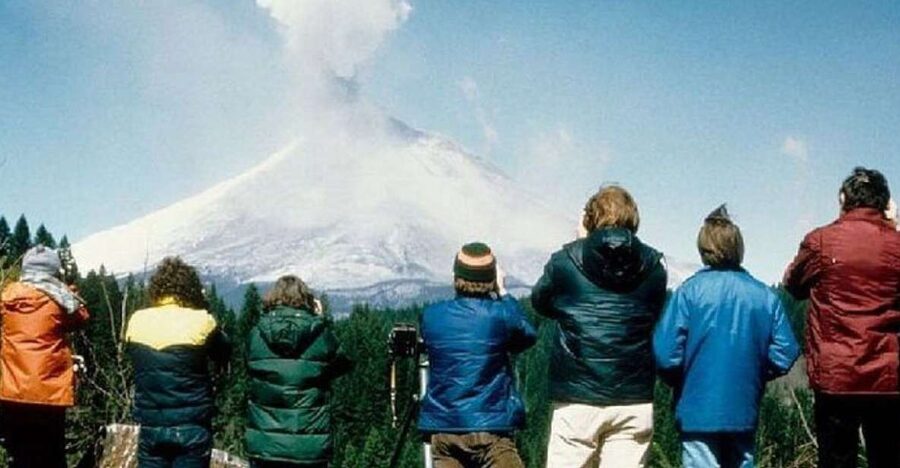
Mt. St. Helens has a reputation that can make it sound like a single moment in time. In reality, it’s an ongoing landscape story, where the 1980 eruption changed the mountain’s geography and then new life moved in. What makes this tour appealing is that it treats the mountain like a process, not just a dramatic headline.
I like the way the day is built around understanding. You’re not just stopping at scenic pullouts. You’re hearing what you’re seeing, from the blast-zone setting to the science side of what still gets monitored today.
You’ll also get a practical sightseeing rhythm. There are longer stretches to look around and shorter blocks to get context. That’s ideal if you want to balance walking and reading with real interpretive help.
Volcanoes and high passes, more Cascade day trips

Seattle pickup and the drive to the blast zone
The day starts with pickup in Seattle and returns to Seattle at the end. That matters because Mt. St. Helens is far enough that doing it yourself usually means extra planning: timing, driving fatigue, and figuring out which viewpoints are worth your time. Here, your transportation is handled, so you can focus on being present when the views open up.
The drive itself includes scenic viewing time on the way to the mountain area. Even if you’re itching to reach the first viewpoints, that earlier window helps you get oriented. You start seeing how the region is organized and why some ridges and valleys matter for what happened in 1980.
For a smooth day, treat the trip like a long field outing, not a casual stroll. You’ll likely want layers, good walking shoes, and a plan for when you’ll eat since lunch and breakfast are not included.
Stop 1: Mt. St. Helens views and guided orientation (about 4 hours)
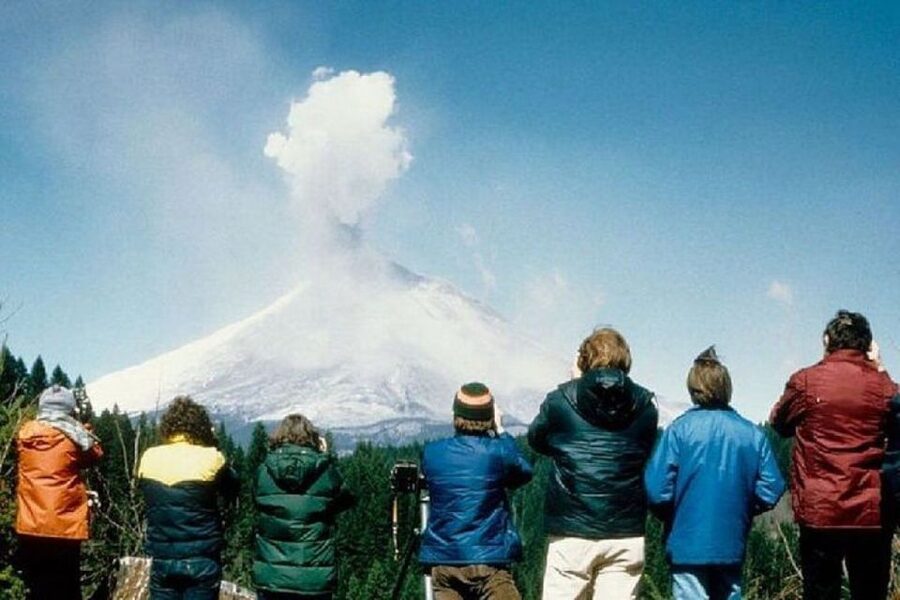
Your first major block is dedicated to Mount St. Helens with scenic views on the way and a guided experience once you’re in the area. Four hours is a solid chunk for this kind of place. It’s enough time to take in multiple angles, read interpretive signage, and still have breathing room if weather or visibility changes.
This is where the tour earns its keep. Mt. St. Helens is visually striking, but it’s also easy to miss the “why” if you’re only looking. A guide helps you connect the geography you’re seeing to the eruption and to what that means for the area now.
If you’re the type who likes asking questions—about rock layers, eruption impacts, or how the region looks after major disturbance—this first stop is a good place to spend your attention. You’re essentially building your mental map before you go deeper into specific sites.
One practical note: bring patience for busy sight lines. The tour is small, capped at 14 people, but popular viewpoints still get used. The upside is that a smaller group tends to spread out your movement and keeps things calmer.
Coldwater Ridge Visitor Center: the “before you go higher” briefing (1 hour)
Next up is the Coldwater Ridge Visitor Center, where you’ll have a guided tour and time for sightseeing for about an hour. This stop works because it sits at the right moment in the day. You’ve seen enough of the mountain to care, but you haven’t yet reached the science-heavy ridge area where details get more specific.
A visitor center is also where a guide can answer the questions you didn’t know you’d have. You might be looking at slope shapes, vegetation patterns, or the way the ground has been reshaped. A guided pass helps you turn what could be random visuals into meaningful observations.
Also, don’t treat this as a quick restroom-and-resume stop. An hour is enough to get good context and then carry it forward. By the time you reach the Johnston Ridge area, you’ll be better at noticing the differences the guide points out.

Johnston Ridge Observatory: where you see the science in motion (about 4 hours)
Your biggest time block is at the Johnston Ridge Observatory, and it’s the heart of the science story. It’s located on Johnston Ridge in the center of the 1980 blast zone, about 8 km (5 mi) north of the Mt. St. Helens summit. This is also where you’re told the mountain isn’t only historical; it’s monitored.
One of the most compelling details is that the Ridge is named for David Johnston, a USGS volcanologist who was on duty during the May 18, 1980 eruption at the USGS Coldwater II observation point. He was one of 57 people who lost their lives in the eruption. Learning that makes the observatory feel less like a museum stop and more like a place with real stakes and real memory.
The observatory building houses seismic, deformation, and other monitoring equipment that relays data to the USGS Cascades Volcano Observatory for analysis. That’s a powerful angle for your visit: you can look around and then understand that today’s view comes with ongoing measurements.
You’ll want your 4 hours here. Even if you’re not a science person, this is the kind of stop that changes how you interpret the mountain. You start noticing why certain vantage points matter and how eruption impacts are studied long after the main event.
Keep in mind the observatory is open seasonally. If your travel dates fall outside operating periods, your experience may shift. If you’re planning around a specific date, check the operating window so you’re not disappointed by missing the observatory portion.
Coldwater Lake: reforestation and wildlife time (1 hour)
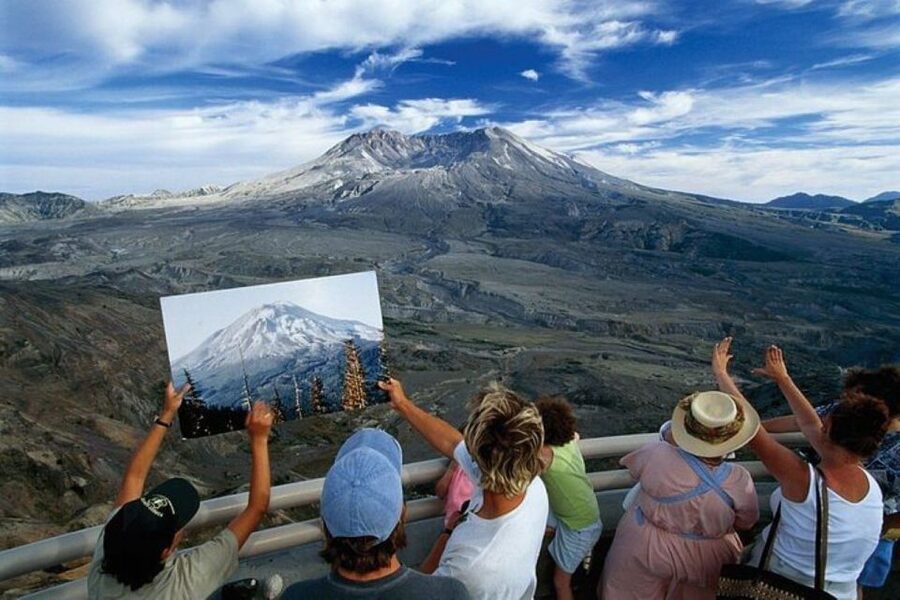
After Johnston Ridge, the tour includes a stop at Coldwater Lake, Washington, with a guided visit and about an hour for sightseeing. This is the emotional counterweight to the science focus. At this point in the day, you’ve already absorbed the eruption story, so the lake stop lands better because it shows what recovery looks like in real time.
The tour messaging highlights the reforestation initiative and the flora and wildlife that return to the area. Even without getting technical, you can see the basic idea: life takes hold again where destruction left a blank space. It’s a reminder that geology isn’t just about the past.
I’d treat this as your best “slow down and look” moment. The pace usually eases here. Let yourself notice plant patterns and the way the terrain holds water, light, and growth.
If you like birding or just enjoy spotting small wildlife, this is also the kind of stop where your guide’s interpretation can help you notice more than you would alone. You may not see big animals every time, but you’re more likely to catch the smaller signs of ecosystem change.
What makes the guides matter (and how to get the best version)
A tour is only as good as the guide, and this one leans hard into explanation rather than just driving to pullouts. One guide named Chad gets specifically praised for being on time, patient, and flexible, including offering options when you reach stops. That’s exactly what you want when you’re standing in front of geology you can’t fully understand in 20 seconds. A patient guide also helps you take your time reading signs and asking questions.
Another named guide, Bob, is noted for doing a great job showing people the mountain up close, including exploring details like Ape Cave and the south side of the volcano on a private tour setting. You shouldn’t count on the same add-ons on every departure, but it’s a good reminder of the value of guides who know how to tailor the route to what you want to see.
The practical takeaway for you: if your tour offers any choice of viewing viewpoints or pacing options, take them. A flexible guide can turn a good day into a memorable one, especially when weather changes or visibility shifts.
Group size and timing: how to plan your day so it feels easy
This is a small group limited to 14 participants, and that affects your experience in a tangible way. Smaller groups tend to mean fewer bottlenecks at viewpoints, easier conversation, and less stress when you want to linger. It also makes it more likely you’ll get real answers from the guide instead of feeling like you’re part of a silent line.
You’ll be out for about 9 hours total, which is a full day. The good news is the tour is structured with multiple on-site blocks:
- a longer first look at Mt. St. Helens,
- an hour at Coldwater Ridge Visitor Center,
- a major observatory session,
- and a focused lake stop.
The downside is you’ll need to manage food. Lunch and breakfast aren’t included, and the tour only lists bottled water as included. I recommend bringing snacks you can grab easily and plan to buy a meal on your own strategy if that’s an option on your schedule.
Also think about comfort. Even when the walking is moderate, a volcanic region can mean uneven ground near viewpoints and wind that changes how warm you feel. Pack for temperature swings more than for one steady climate.
Price: is $285 worth it for a Mt. St. Helens day trip?
At $285 per person for 9 hours, you’re paying for three things: transportation from Seattle, a live English-speaking guide, and long guided time at key locations. The value comes from how much time you’re actually spending on the mountain and ridge areas, not just getting there.
If you tried to do this independently, your costs would likely shift into gas, vehicle wear, and the real time cost of figuring out which stops give the best story arc. Here, that planning work is handled for you, and you’re also buying access to interpretation at the visitor sites and observatory context.
The biggest “hidden” cost is really your food. Because lunch and breakfast aren’t included, you may end up paying extra for snacks or a meal. But that’s normal for day tours of this length, and it’s also why bringing your own snacks can make the overall value feel better.
If you care about geology, science interpretation, and understanding what you see, the price makes more sense. If you only want the simplest photo stop experience, you might be able to replicate some views on your own. Still, the observatory science angle is hard to match without a guide who can connect the dots.
Should you book this Mt. St. Helens tour from Seattle?
Book it if you want your day to include more than views. You’re getting real guidance tied to where you are—especially at Johnston Ridge Observatory, with its USGS monitoring equipment and the David Johnston story. The small group size also fits well if you like asking questions and reading the interpretive signs at your own pace.
Skip it or reconsider if you have mobility needs that make moving around viewpoints difficult, since it’s not suitable for wheelchair users. Also consider your timing: because the observatory is open seasonally, check that your dates line up with when Johnston Ridge is operating so you get the full experience.
If you go in ready to learn, bring snacks, and dress for weather swings, you’ll leave with a clearer understanding of how a place can change in an instant—and still keep evolving.
FAQ
How long is the Mt. St. Helens tour from Seattle?
The tour duration is 9 hours.
How much does the tour cost?
The price is $285 per person.
Where does the tour pick up and drop off?
Pickup location is Seattle, and the tour returns you back to Seattle.
What stops are included during the day?
You’ll visit Mount St. Helens, the Coldwater Ridge Visitor Center, Johnston Ridge Observatory, and Coldwater Lake, Washington.
What is included in the price?
Included items are pickup and drop-off, plus bottled water.
Is lunch included?
No. Lunch is not included, and breakfast is not included either.
Is the Johnston Ridge Observatory always open?
No. Johnston Ridge Observatory is open seasonally.
Is this tour suitable for wheelchair users?
No, it is not suitable for wheelchair users.
Is free cancellation available?
Yes. You can cancel up to 24 hours in advance for a full refund.
Can I reserve and pay later?
Yes. You can reserve now and pay later to keep plans flexible.
Up Into the Cascades
- Mt. St. Helens National Monument from Seattle: All-Inclusive Small-Group Tour
★ 5.0 · 129 reviews - Luxury Leavenworth Day Trip through the Cascade Mountains
★ 5.0 · 61 reviews - Mount Baker Climb Tour from Washington
★ 5.0 · 17 reviews - Small-group Mt. St. Helen National Park Tour from Seattle in SUV
★ 4.0 · 11 reviews - Seattle: Mt. St. Helens National Monument Small Group Tour
★ 4.7 · 9 reviews - Leavenworth and North Cascades Sightseeing Tour
★ 4.0 · 9 reviews
Just Added: Fresh Seattle Tour Reviews
- Viator Exclusive – Half Day Mountain Bike Tour from Seattle★ 5.0 · 3 reviews
- Break It and Make It: A Glass Fusing Session in Everett★ 4.5 · 3 reviews
- Bainbridge Island Discovery and Wine Tour★ 5.0 · 3 reviews
- Alki Lighthouse Sea Kayak Tour★ 5.0 · 3 reviews
- Sail Bainbridge Island & Seattle Waters – Classic Sailboat★ 5.0 · 3 reviews
- City Sightseeing Seattle: HOHO Bus Tour + Locks Cruise★ 4.3 · 3 reviews
Cascade Peaks & Volcano Trips, compared.
 ★ 5.0Mt. St. Helens National Monument from Seattle: All-Inclusive Small-Group TourFrom $344129 reviews
 ★ 5.0Luxury Leavenworth Day Trip through the Cascade MountainsFrom $35261 reviews
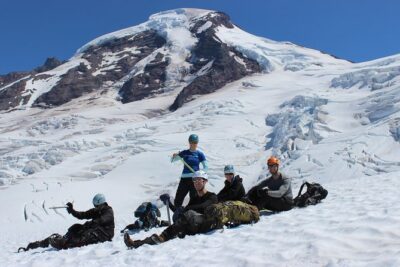 ★ 5.0Mount Baker Climb Tour from Washington17 reviews
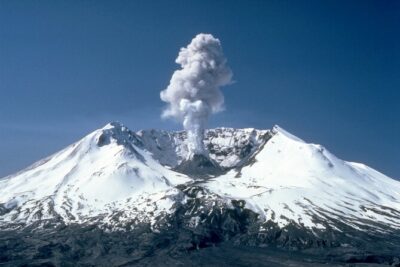 ★ 4.0Small-group Mt. St. Helen National Park Tour from Seattle in SUVFrom $37511 reviews
 ★ 4.0Leavenworth and North Cascades Sightseeing TourFrom $1259 reviews
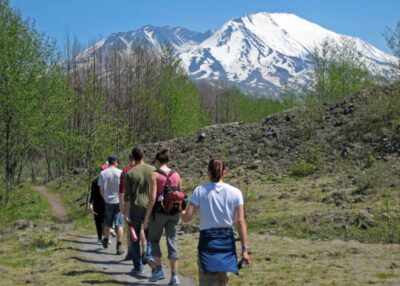 ★ 4.7Mt. St. Helens National Monument Small Group TourFrom $3269 reviews
 ★ 3.0From Seattle – Enchanting Mt Baker and Cascades Tour in SUVFrom $3956 reviews
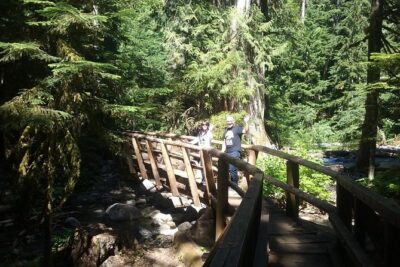 ★ 5.0Private Cascade Mountains and Waterfalls Tour from SeattleFrom $3526 reviews
Browse the lists this tour appears in